Installing New Relic in Heroku using a Play 2.4.x (Java) Application
Hi guys, just wanted to write a small post about installing New Relic on a Play Framework App (version 2.4.x) in Heroku. I struggled a bit with some of the instructions I found through the internet (including Heroku’s and New Relic’s).
What I did to make it work:
Install the New Relic Addon through Heroku’s interface
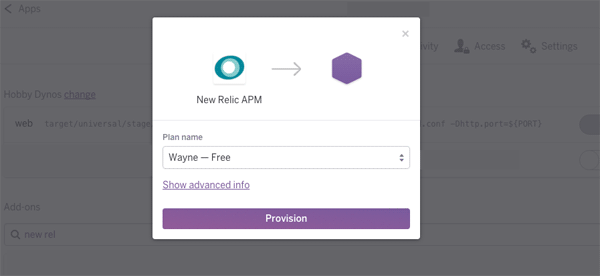
New Relic Installation Screen
This will install the add-on and configure somethings for you (like environment variables). If you do `heroku config` you’l see the following variables:
- NEW_RELIC_APP_NAME: APP_NAME
- NEW_RELIC_LICENSE_KEY: YOUR_LICENSE_KEY
- NEW_RELIC_LOG: stdout
In order for the addon to work you need to enable it’s Java agent, by adding the dependencies to your build.sbt file:
libraryDependencies ++= Seq(
//Your other dependencies
“com.newrelic.agent.java” % “newrelic-agent” % “3.25.0”,
“com.newrelic.agent.java” % “newrelic–api” % “3.25.0”
)
Notice that at the time of writing ( 20/02/2016 – February 20th ) the latest version of the agent is 3.25. You should always check the latest version at maven central and use that.
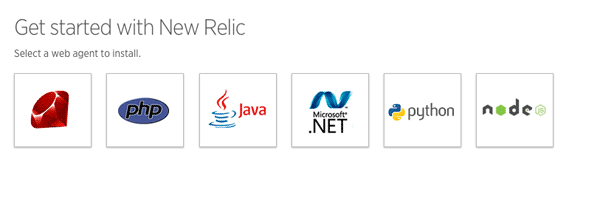
Now you need the “newrelic.yml” configuration file. You can download when you configure your account in new relic. Once you go to your New Relic account page you’ll see the following screen : Choose “Java”.
 After you choose Java, the next screen will show this:
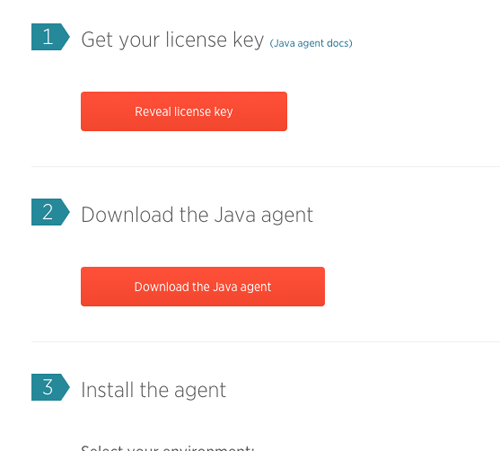
Click the “Download the Java agent” button. This will download a zip file with the java agent and the newrelic.yml file. My suggestion is copy the newrelic.yml file to the Play Framework’s conf directory ( conf/newrelic.yml ).
Add all the changes to git, and push to heroku.
git add build.sbt
git add conf/newrelic.yml
git commit -m ‘Add new relic addon’
git push heroku master
Now you only to configure the environment variables to run the agent.
heroku config:set JAVA_OPTS=”Xmx334m -Xss512k -XX:+UseCompressedOops -javaagent:target/universal/stage/lib/com.newrelic.agent.java.newrelic-agent-3.25.0.jar -Dnewrelic.config.file=conf/newrelic.yml
Now, I’m not sure if target/universal/stage/lib/com.newrelic.agent.java.newrelic-agent-3.25.0.jar will be the same throughout time, but if you get errors like “cannot open zip file” or “cannot read manifest” I suggest you do the following in your terminal:
heroku run bash
Once inside the web dyno, look around and find where the new-relic jar file is and point the environment variable to it.
Hopefully, that’s all you need. I did encounter other issues, but mostly related by not having the newrelic.yml file in the right place (or not having the configuration pointing to the right place).